Configuring the RTX2080 Machine
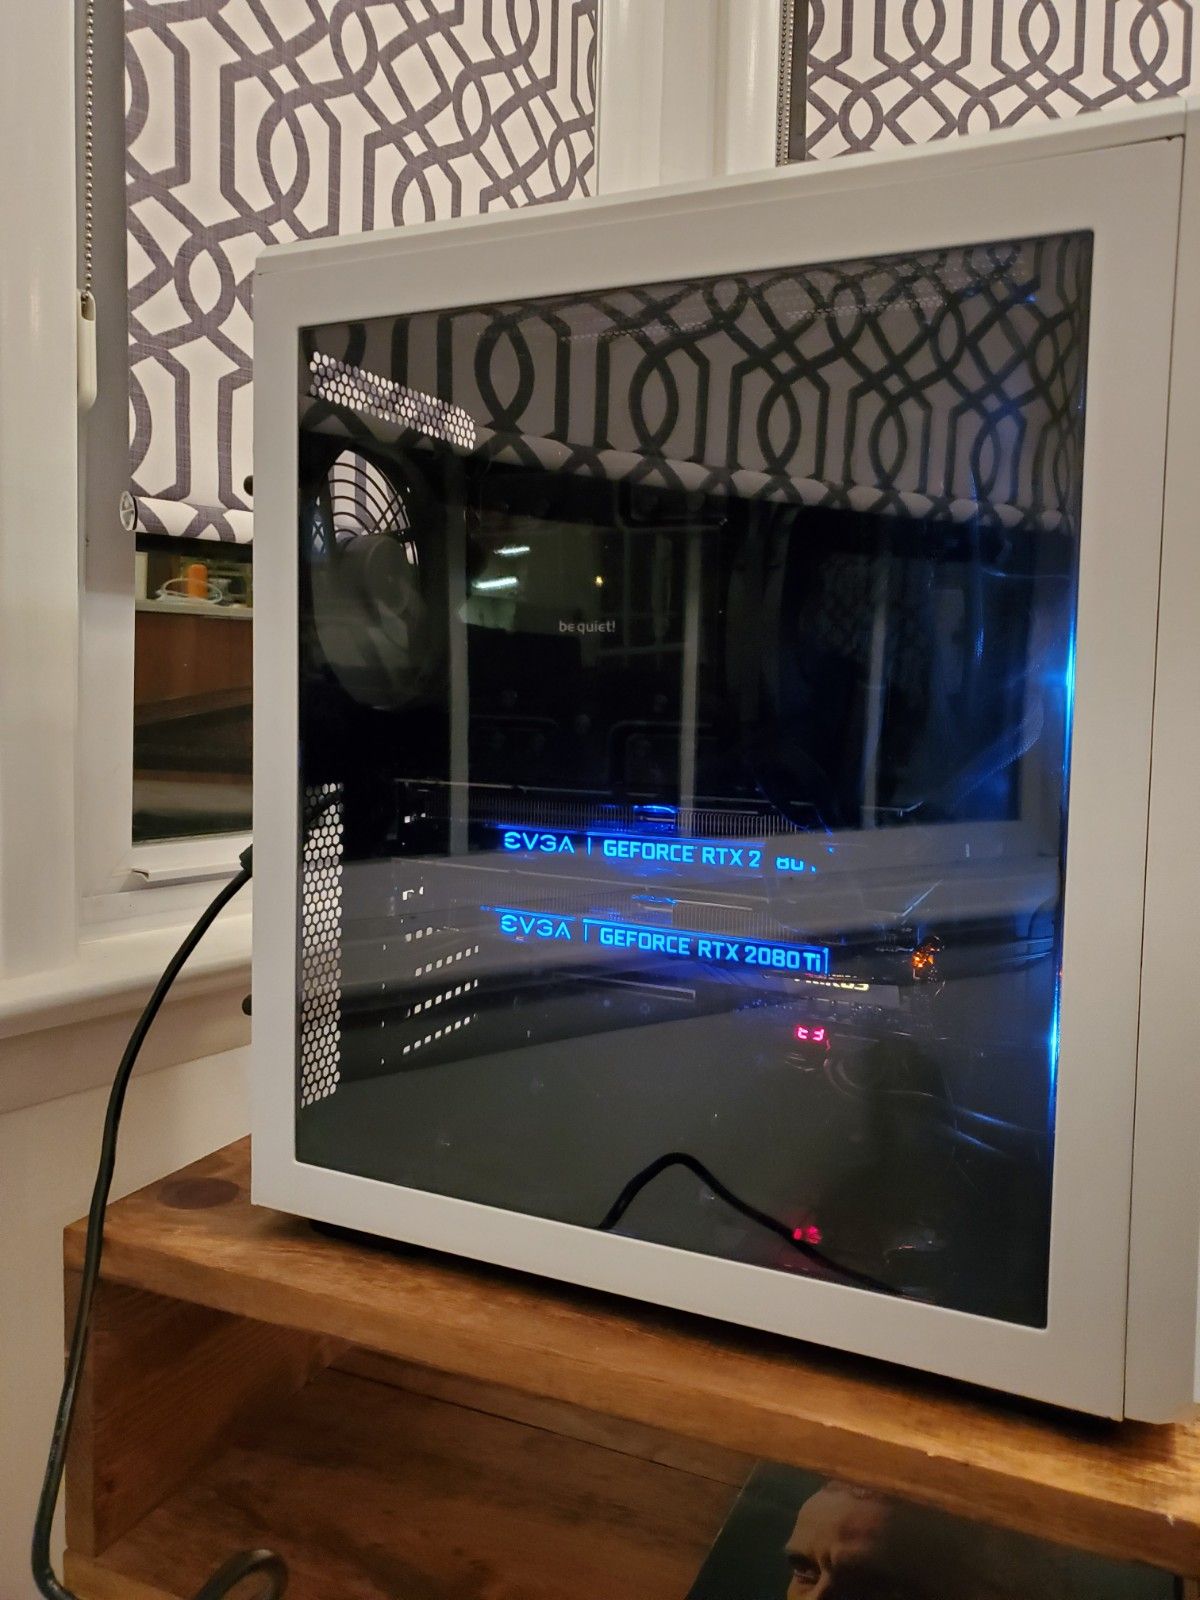
In my first post I showed some pictures and went over a few lessons learned during the build of this machine. In this brief post, I'll share some of my configs for getting it up and running with Tensorflow 2.0.
OS - Ubuntu 18.04
First I installed Ubuntu as the OS and removed LibreOffice tools via sudo apt-get remove --purge libreoffice* and other utilities like Amazon, Solitaire, Calendar through the applications GUI. I definitely have a lot of memory, but I think I'm a creature of habit, having done this for the RaspberryPi and the NVIDIA Nano and TX2.
Anaconda
Next, install Anaconda, all the while doing sudo apt install for various utilities like curl, vim, etc. I set up a few virtual environments, one for Tensorflow.
Install CUDA
I used two resources for installing CUDA 10.2:
- https://medium.com/@coo6087rcc/install-tensorflow-gpu-and-work-on-rtx-2080-ti-ff1e521592b8
- https://docs.nvidia.com/deeplearning/sdk/cudnn-install/index.html
Make sure you note which version of 10.x you’re installing. The Medium post was for 10.0. But my version is 10.2. At the time of your installation, it might be a newer version of CUDA, so be mindful.
Simply follow the Medium instructions and you'll be directed to NVIDIA's site to download CUDA Toolkit. Note, you don't need an NVIDIA developer account, but you'll need one for CuDNN.
https://developer.nvidia.com/cuda-downloads?target_os=Linux&target_arch=x86_64&target_distro=Ubuntu&target_version=1804&target_type=deblocal

Just copy and paste all the prompts in the installation instructions into terminal. During the sudo dpkg..., you’ll get a message like this, but it’s also the same prompt right after, so don't freak out.
The public CUDA GPG key does not appear to be installed.To install the key, run this command:sudo apt-key add /var/cuda-repo-10-2-local-10.2.89-440.33.01/7fa2af80.pub
And you may get a message like this: ******************************************************************************** Reboot your computer and verify that the NVIDIA graphics driver can ****** be loaded. *****************************************************************************
Well, then, reboot it.
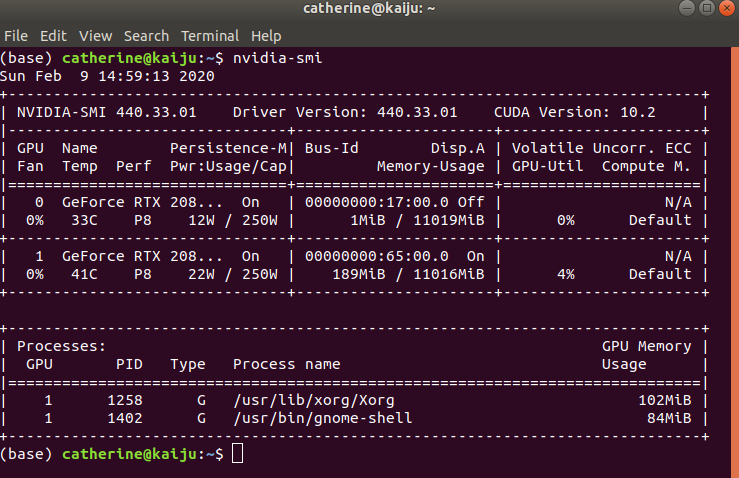
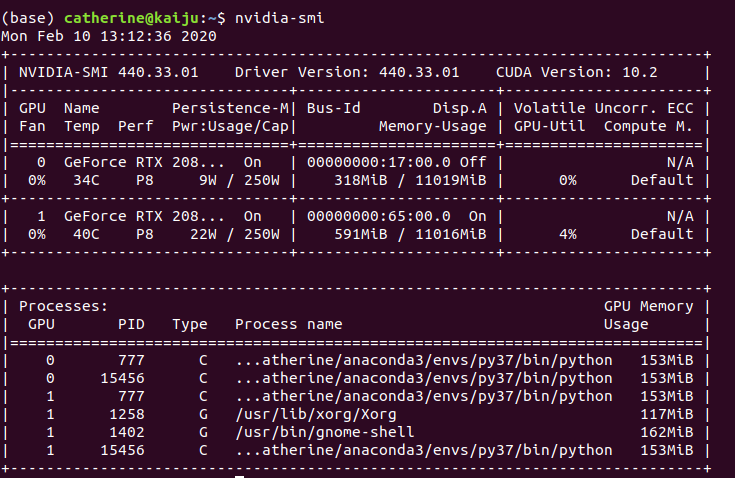
Now you can type in nvidia-smi and you should see this.
Keep following the instructions on the Medium post, and now you're ready to config the bashrc file:

In my case, it’s export PATH=/usr/local/cuda-10.2/bin${PATH:+:${PATH} not what you see above for 10.0. Continue to follow the instructions, and again, adjust for 10.2: cd /usr/local/cuda-10.2/samples/ Alright, when running this you may get this error:
cudaNvSci.h:14:10: fatal error: nvscibuf.h: No such file or directory #include <nvscibuf.h>^~~~~~~~~~~~ compilation terminated.
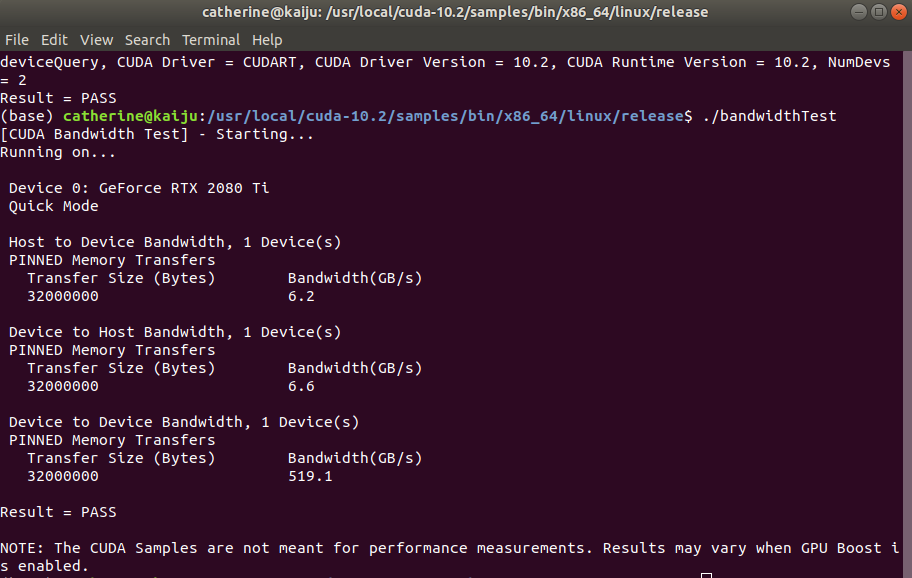
Evidently the “NvSci interop support is a new BETA feature to CUDA 10.2 and hence it's support is limited at this time.” per https://devtalk.nvidia.com/default/topic/1067000/cuda-setup-and-installation/where-is-quot-nvscibuf-h-quot-/2 So, they recommend just skipping over the errors by running sudo make -k. Also the forum goes on to state that “Users who don't have a particular concern with the above should disregard this sample code. The failure of it to build correctly at this time is expected. It does not indicate any sort of problem with the install process, GPU, or compatibility.” So, run the samples: cd /usr/local/cuda-10.2/samples/bin/x86_64/linux/release
You should something like this noting the completion of cuda=10.2 installation:
Install CuDNN
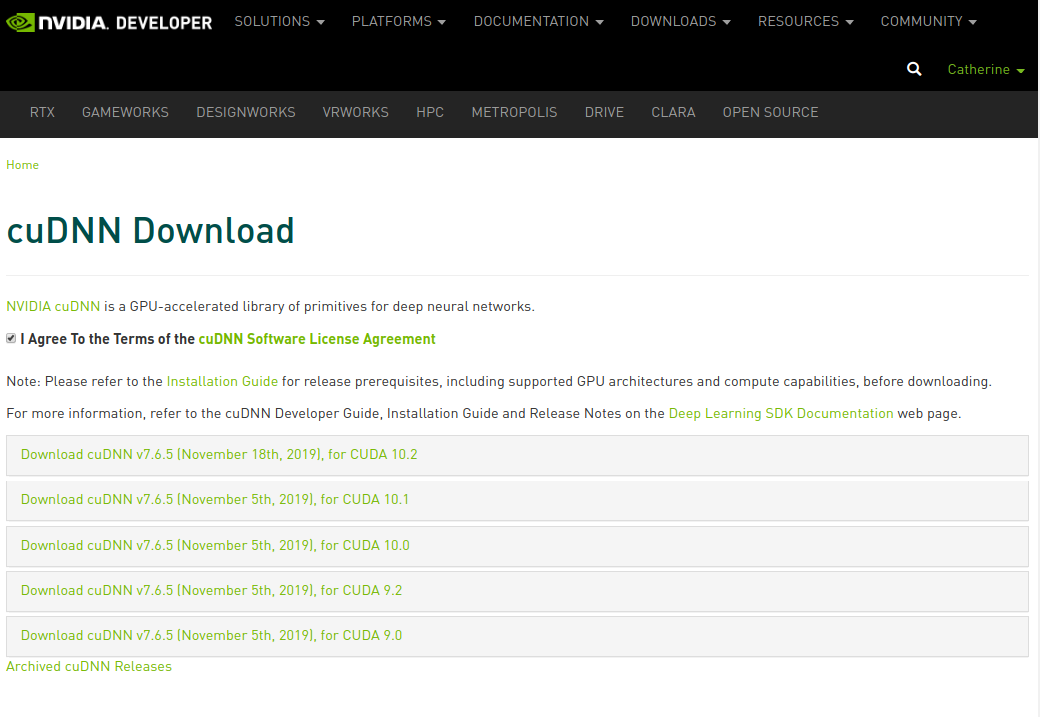
You need to set up a developer account on the Nvidia.com website, first. After logging in, you'll want:
Download cuDNN v7.6.5 (November 18th, 2019), for CUDA 10.2
You need to download all of these:
- cuDNN Runtime Library for Ubuntu18.04 (Deb)
- cuDNN Developer Library for Ubuntu18.04 (Deb)
- cuDNN Code Samples and User Guide for Ubuntu18.04 (Deb)
From this point forward, I abandoned the Medium post and went here:
2.3.2. Installing From A Debian File
- Navigate to your Downloads directory containing cuDNN Debian file.
- Install the runtime library, for example:
sudo dpkg -i libcudnn7_7.6.5.32-1+cuda10.2_amd64.deb - Install the developer library, for example:
sudo dpkg -i libcudnn7-dev_7.6.5.32-1+cuda10.2_amd64.deb - Install the code samples and the cuDNN Library User Guide, for example:
sudo dpkg -i libcudnn7-doc_7.6.5.32-1+cuda10.2_amd64.deb
2.4. Verifying The cuDNN Install On Linux
To verify that cuDNN is installed and is running properly, compile the mnistCUDNN sample located in the /usr/src/cudnn_samples_v7 directory in the debian file.
- Copy the cuDNN sample to a writable path:
cp -r /usr/src/cudnn_samples_v7/ $HOME - Go to the writable path.
cd $HOME/cudnn_samples_v7/mnistCUDNN - Compile the mnistCUDNN sample.
make clean && make - Run the mnistCUDNN sample.
./mnistCUDNN
If cuDNN is properly installed and running on your Linux system, you will see a message similar to the following: "Test passed!"
You should see something like this:

Tensorflow 2.0
pip install tf-nightly-gpu
pip install --upgrade tensorflow-gpu
I also installed open-cv: pip install opencv-python.
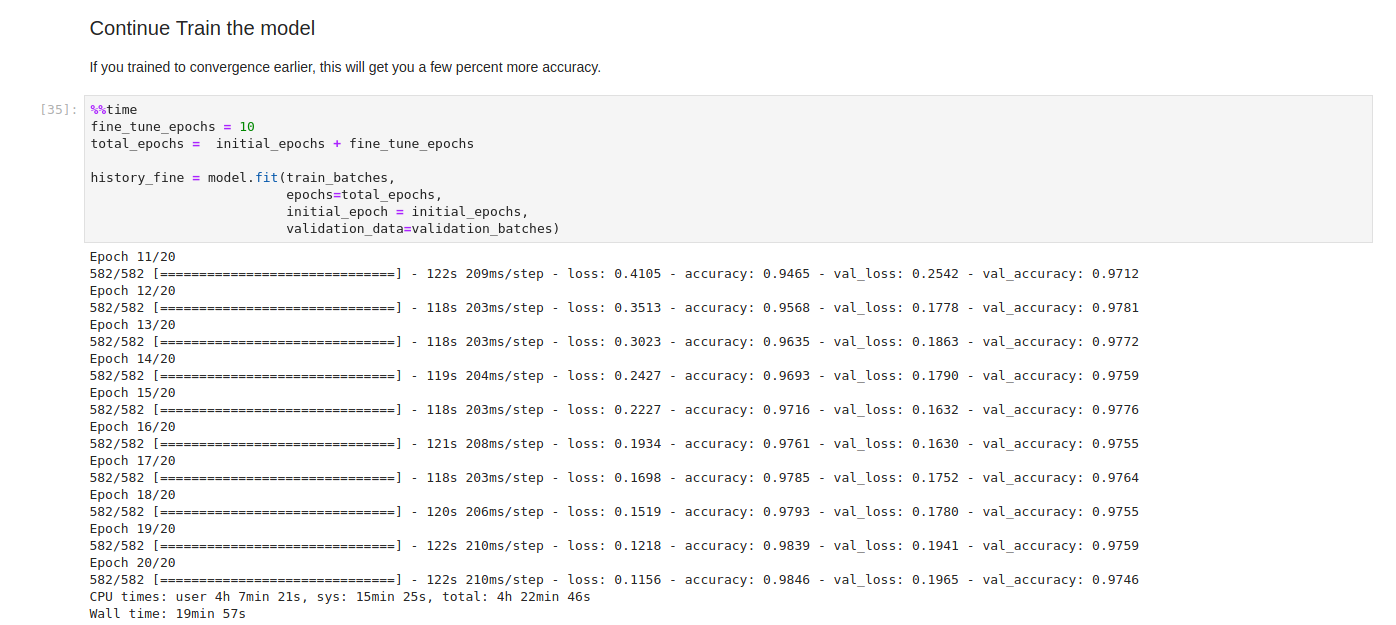
I tested out my install using a simple notebook on transfer learning at the Tensorflow site: https://www.tensorflow.org/tutorials/images/transfer_learning. If you want to remove all the Colaboratory-only syntax, you can use this here on my Github.
For a comprehensive overview on the mechanics of transfer learning, specifically an understanding of the transition from general to specific layers, see the seminal paper by Yosinski, Jason, et al. "How transferable are features in deep neural networks?." Advances in neural information processing systems. 2014.
Time after fine-tuning the base model 10 more epochs: 19min 57 s.

run nvidia-smi
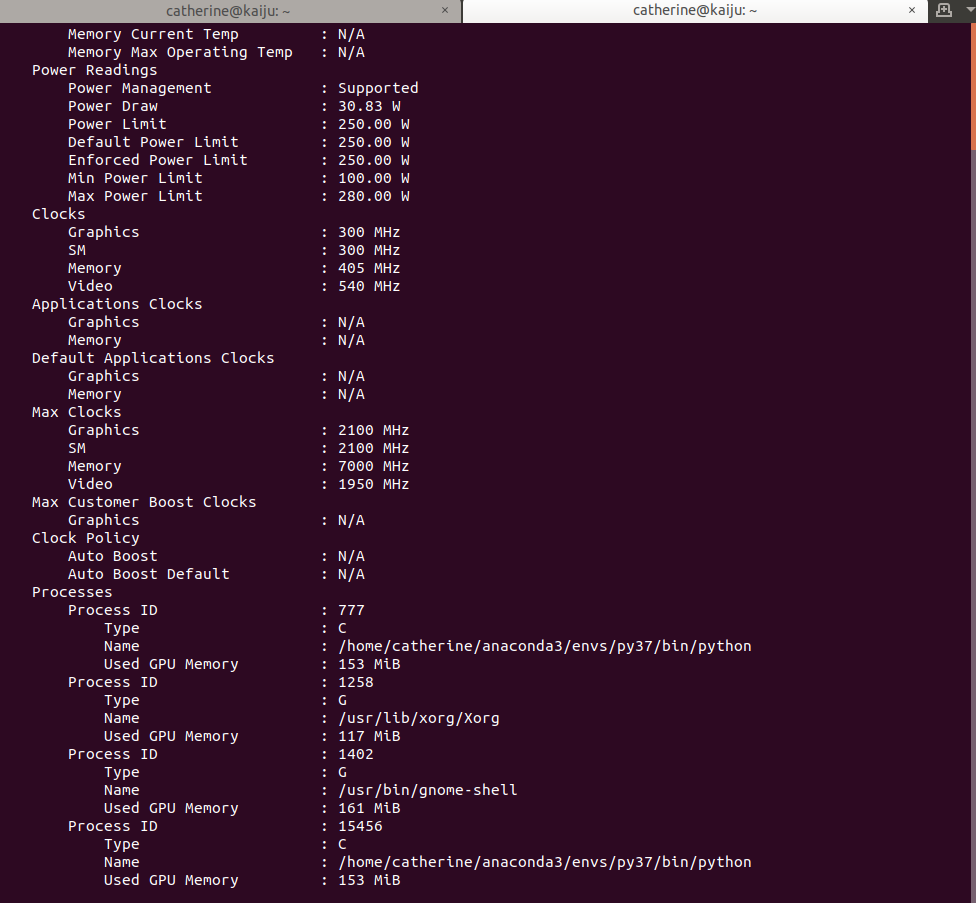
run nvidia-smi -q
I'll post an update later this week when I ssh into my machine, and how to set that up on your network.