Basic scp command to up/download

Fantastic! You finally followed all the tutorials and stood up your first Amazon AMI Deep Learning Notebook.
You've successfully launched it from your local host, probably something like localhost:8888, and you were able to log in after using nano to configure your notebook, and add a password. I personally followed the directions to go into my Python IDE and create a hash.
I wanted to share a few tips in some trial and tribulation I faced while setting this up. My goal in venturing into this AMI was to do this
Kaggle Competition ("https://www.kaggle.com/c/dog-breed-identification/")on classifying 120 different Dog Breeds. Running this on my local MacBook pretty much crawled to a snail's pace so this was the best option. Meanwhile, my goal is to get a Mac GPU peripheral.
Tip 1: Install Keras
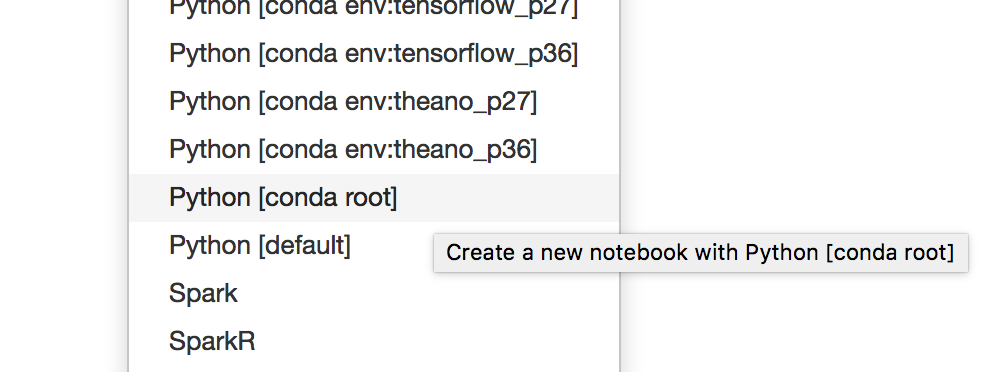
You'll notice on my screenshot above there are a few options. Given how I plan to use Keras, I went ahead and selected the tensorflow_p27 notebook. However, upon trying to run in the cell:
from keras import layers
from keras import models
I got an error message. This made a lot of sense, because I found out that I had to install Keras from the notebook:
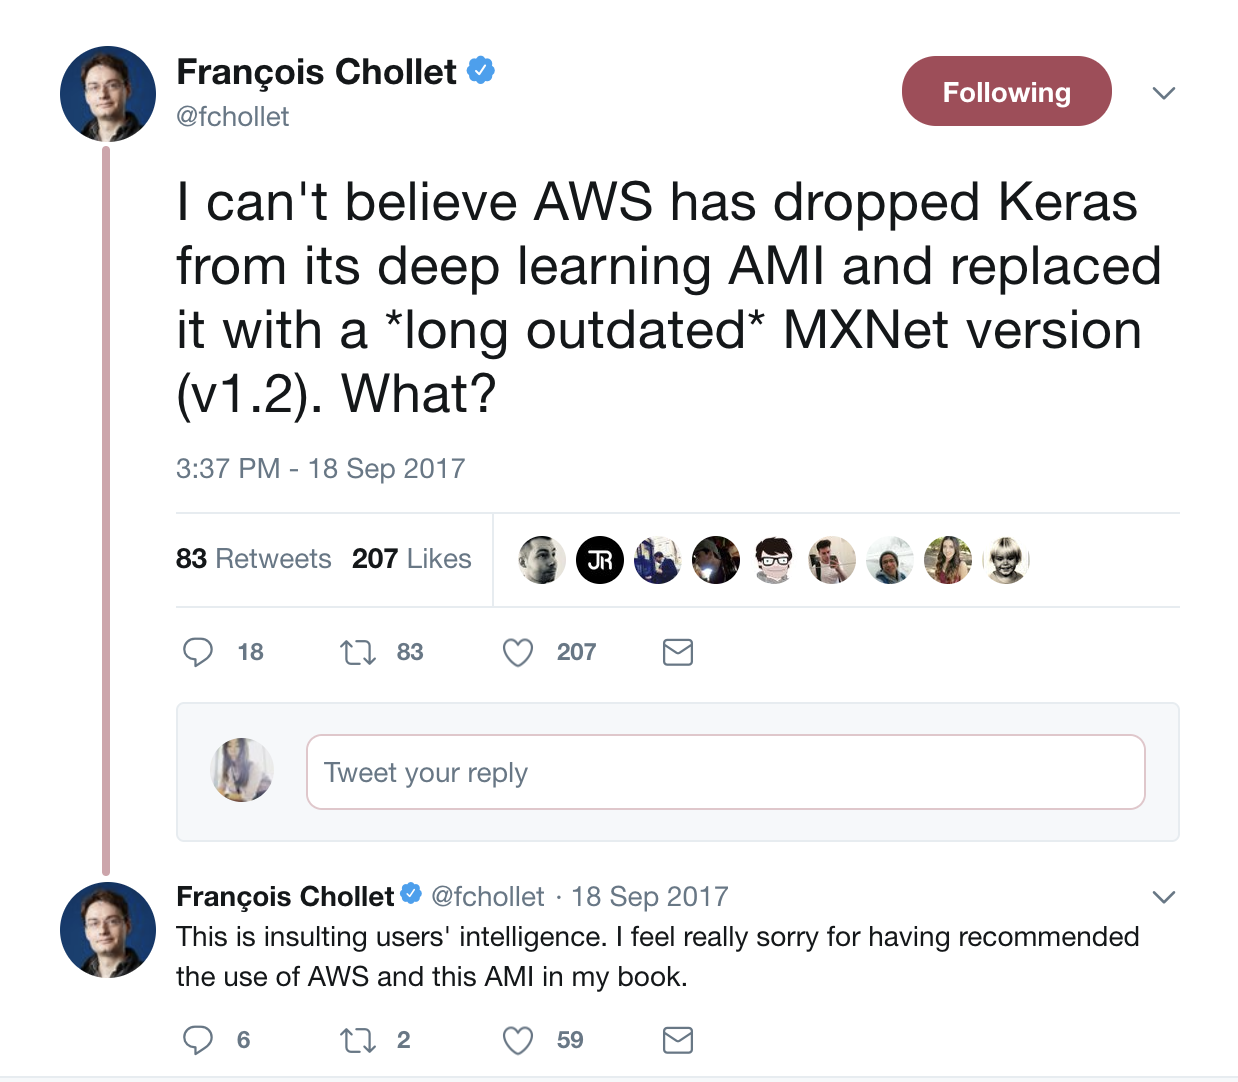
I've already come this far, so at this point, I had to install it. This was easy to do once you figured out it's right in the notebook:
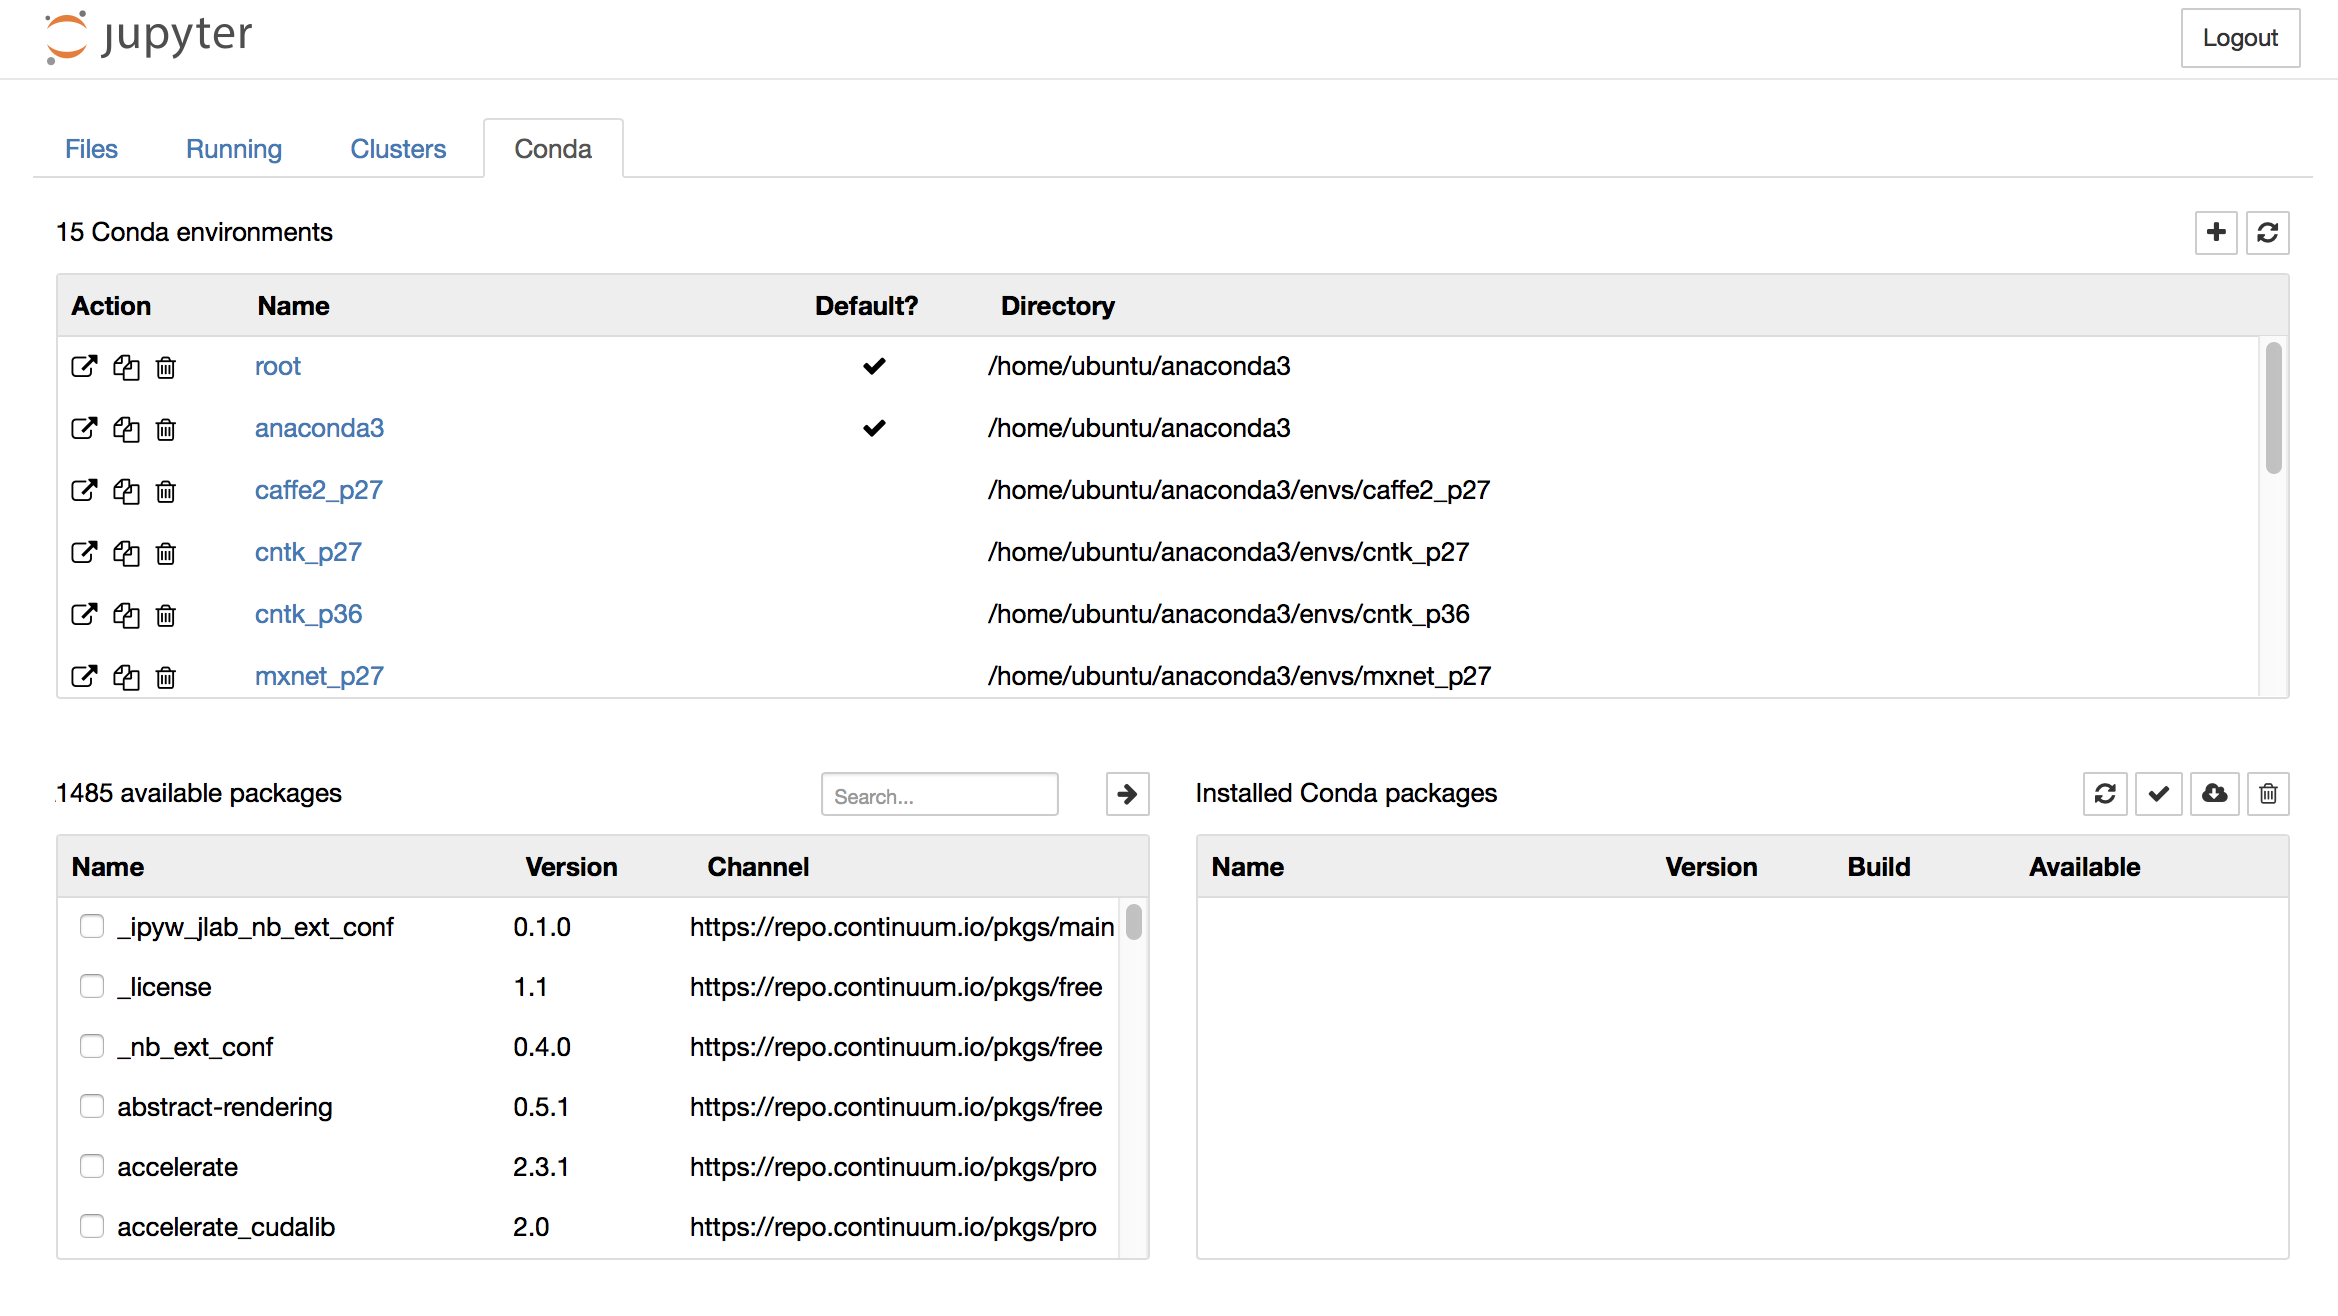
All you need to do is type in keras under the Search... bar under the available packages module. It'll retrieve the Python 3 versions. Just click the right-handed arrow and it will install. Now I opted to just use the Python - conda (root) notebook, since I installed Keras into the root.
Tip 2: Using scp
But, wait, this will seem like a horribly dumb question, but how on earth does one get data "in" the notebook? I was admittedly, seriously stumped. And it was so ugly:
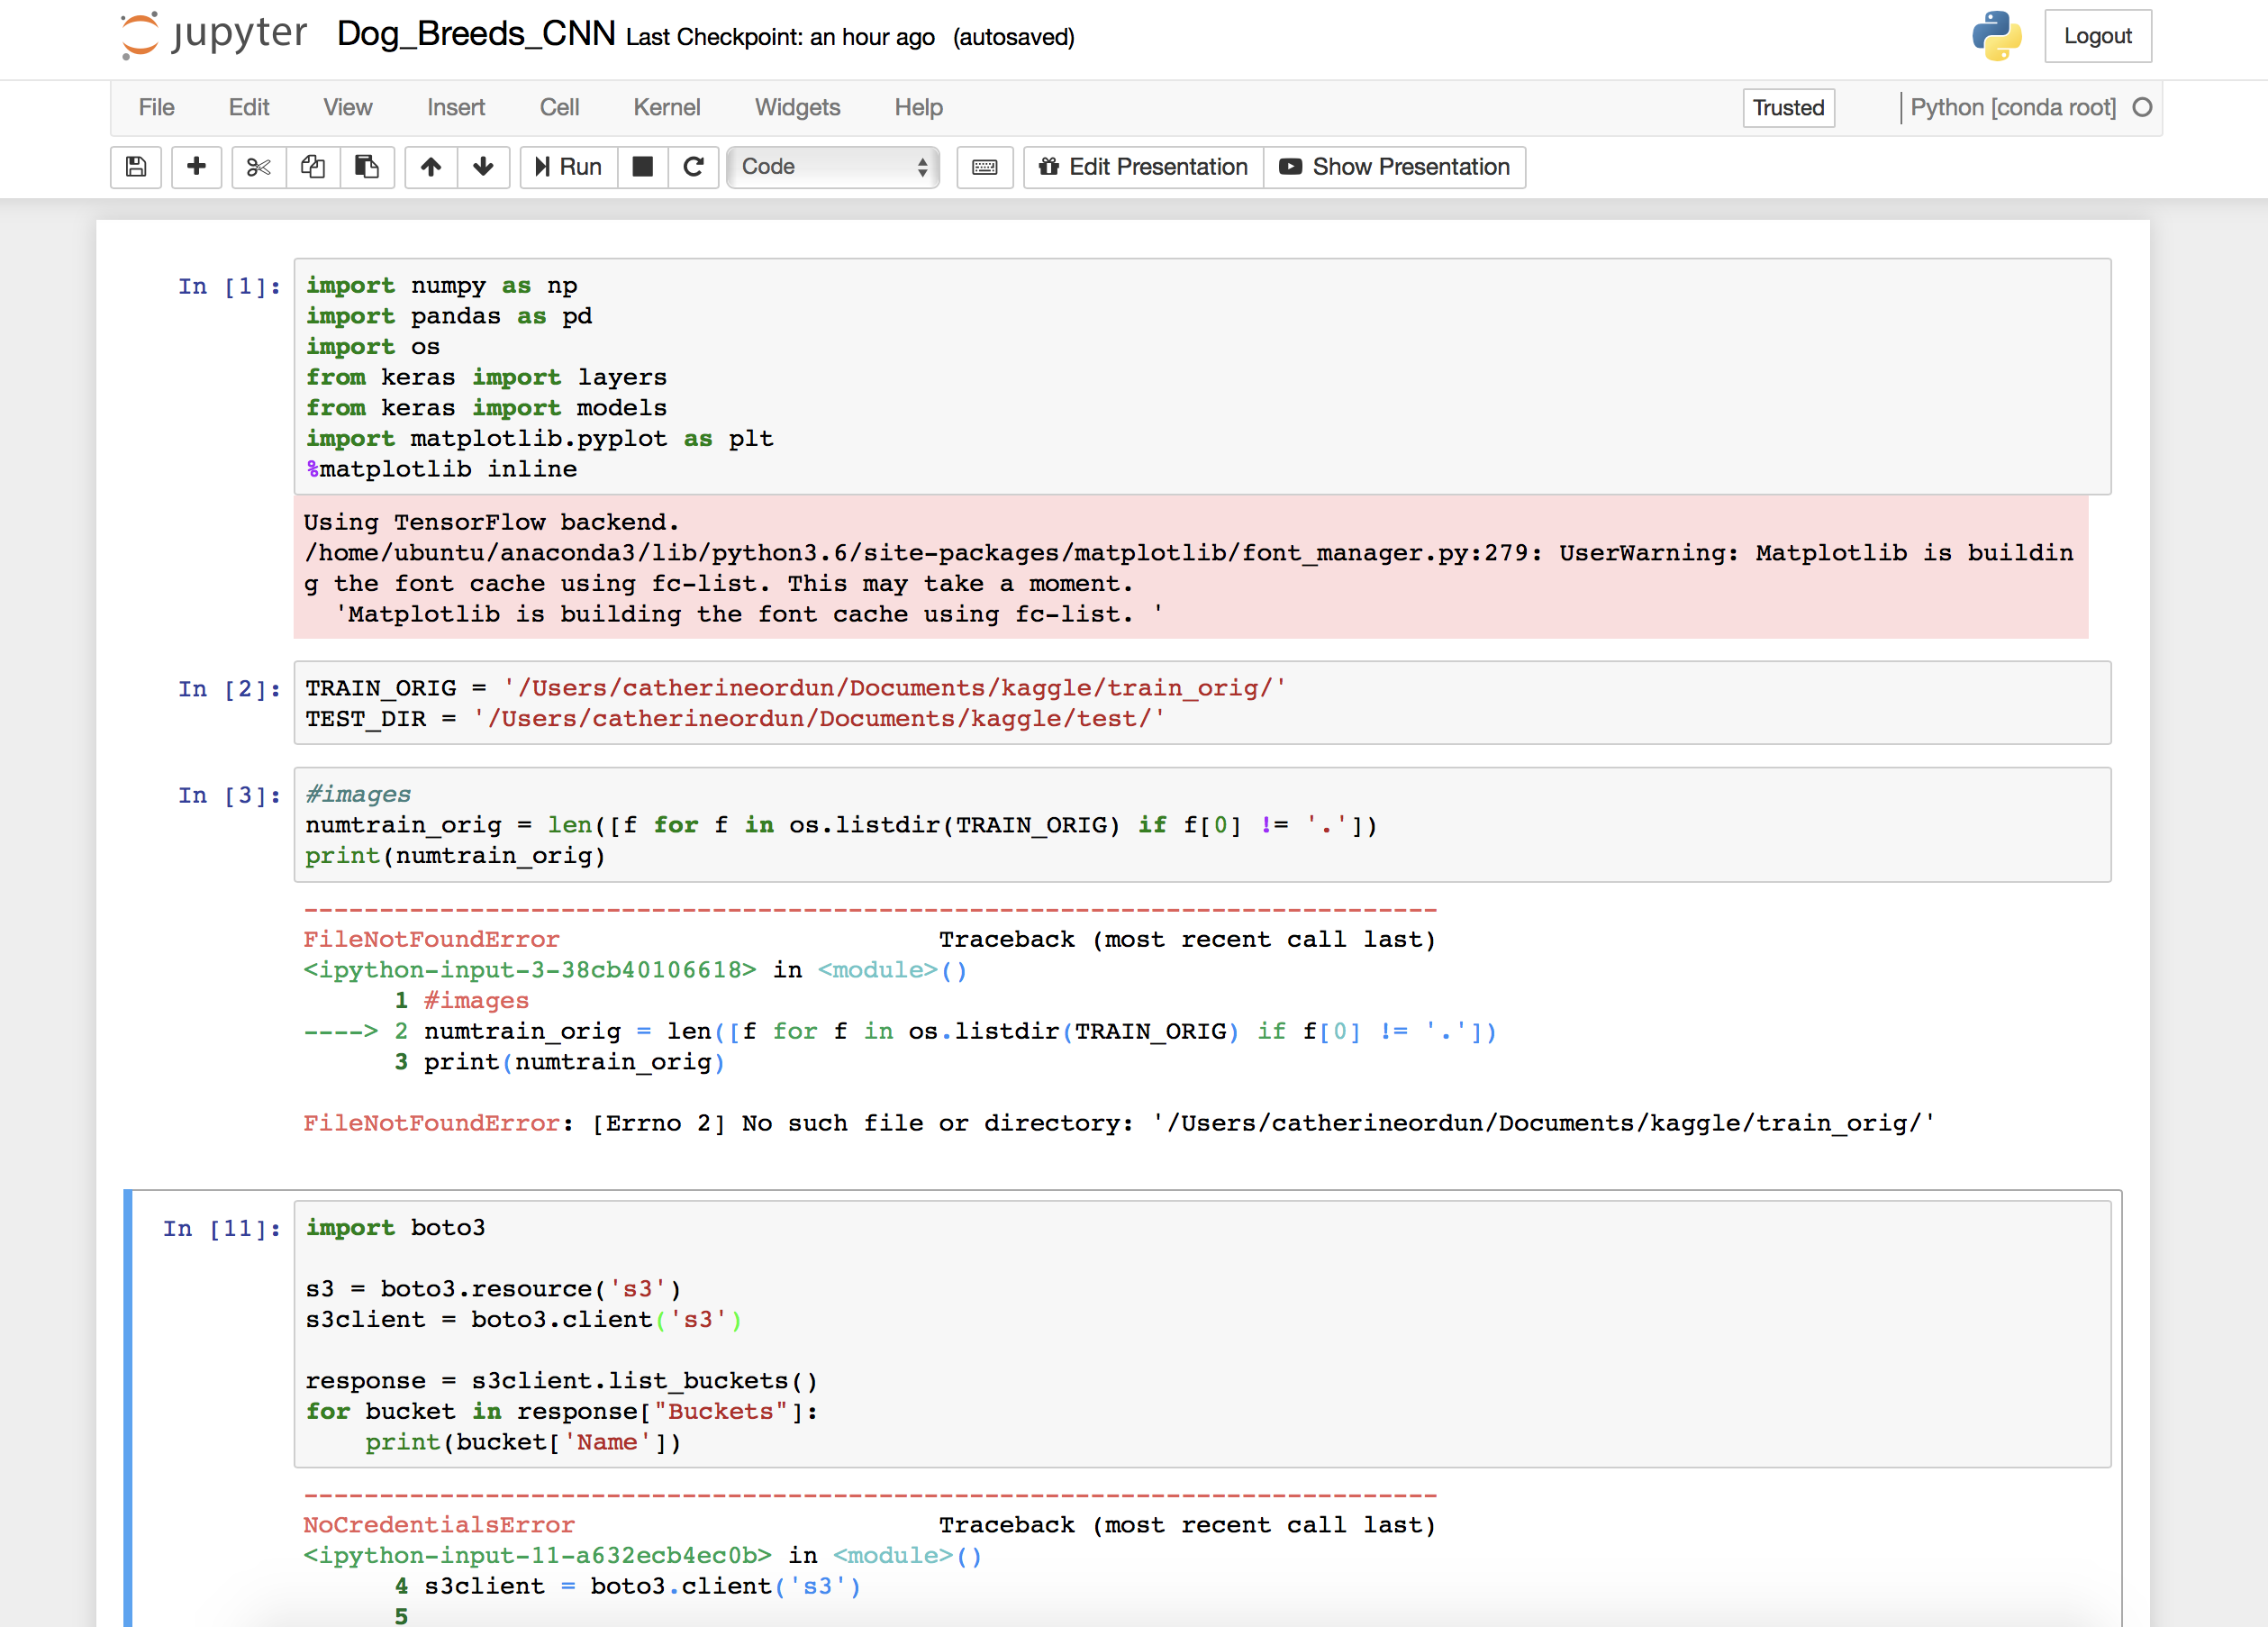
I tried to figure out the best way to use boto3, and ended up uploading all my thousands of dog pictures to S3. Only to realize this wasn't the easiest way:
Basically, at the end of the day I realized that in Jupyter Notebook, you can just add a new folder called data and upload all your files to that. But the only way (well most straight forward way) is through the scp command. There's a lot of switching back and forth between your local terminal (shell) and your ubuntu (AWS) shell. Here's what I did and I hope this helps.
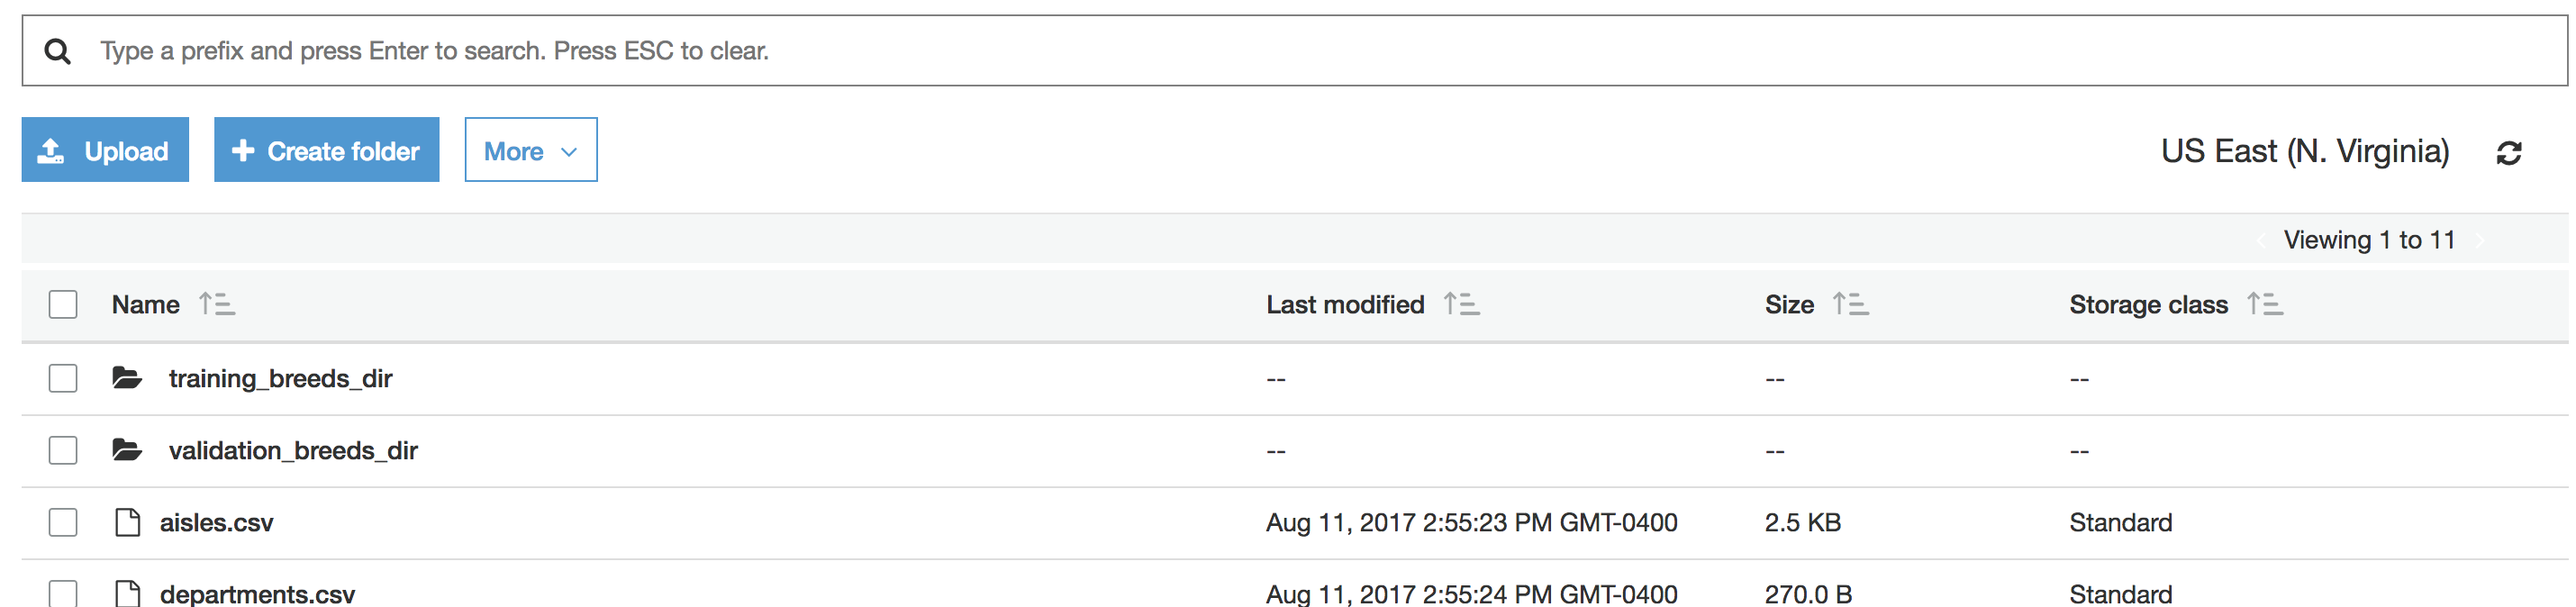
Thanks to this post: http://www.grant-mckinnon.com/?p=56, where I got the first clue on how to scp the data into my Amazon EC2. At the end of this exercise, I got all my data into the data folder here:
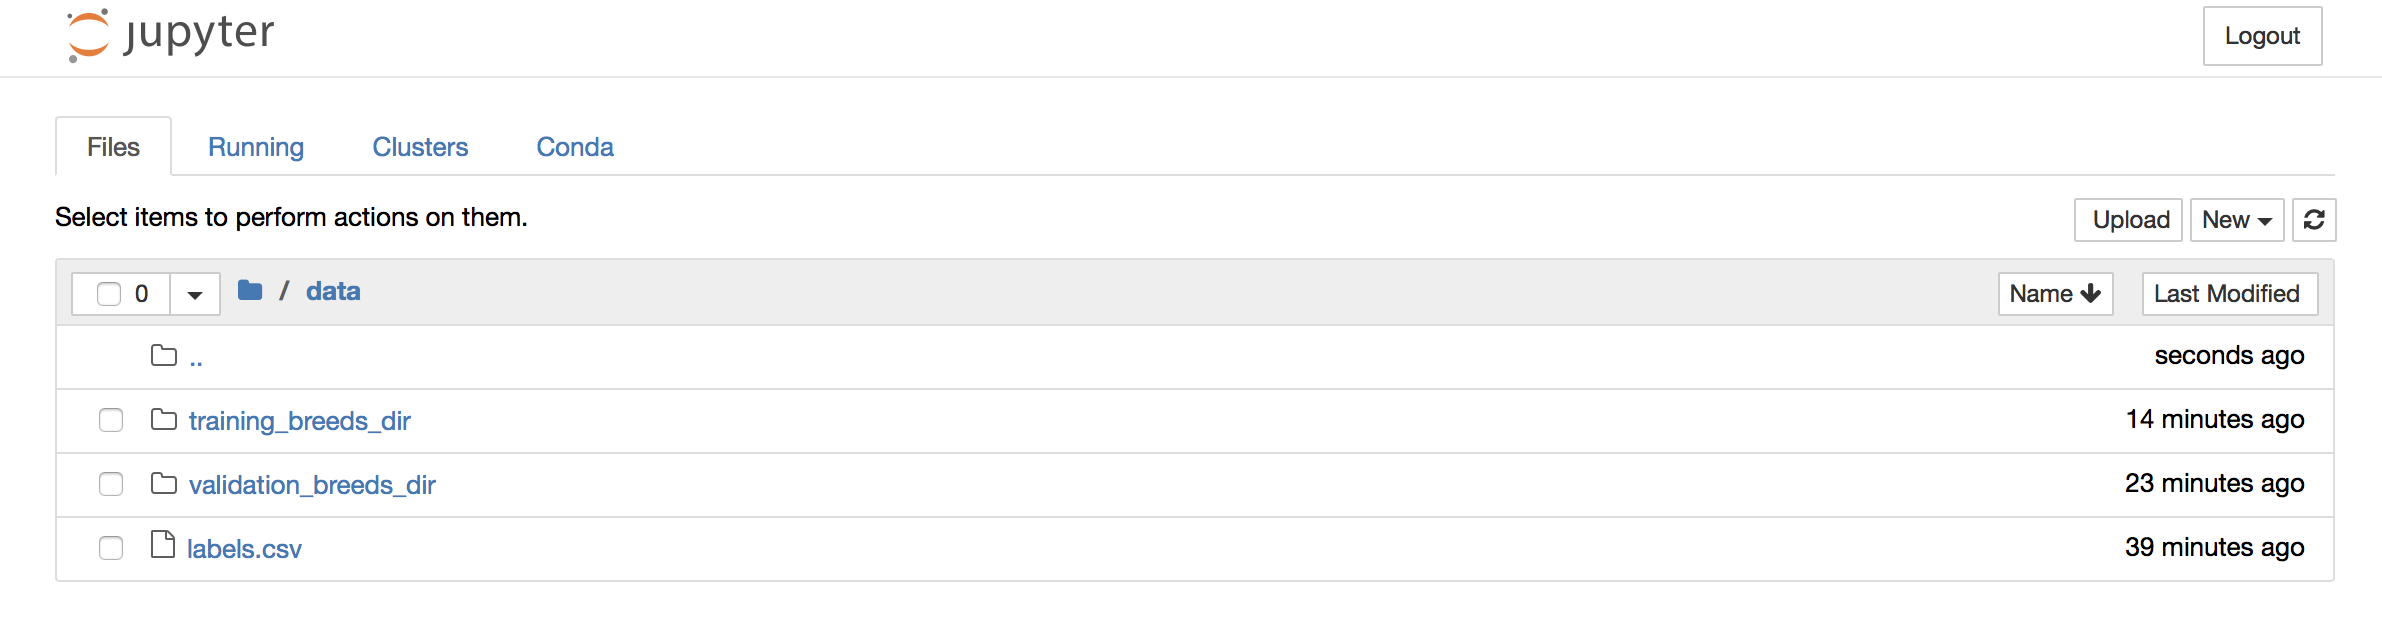
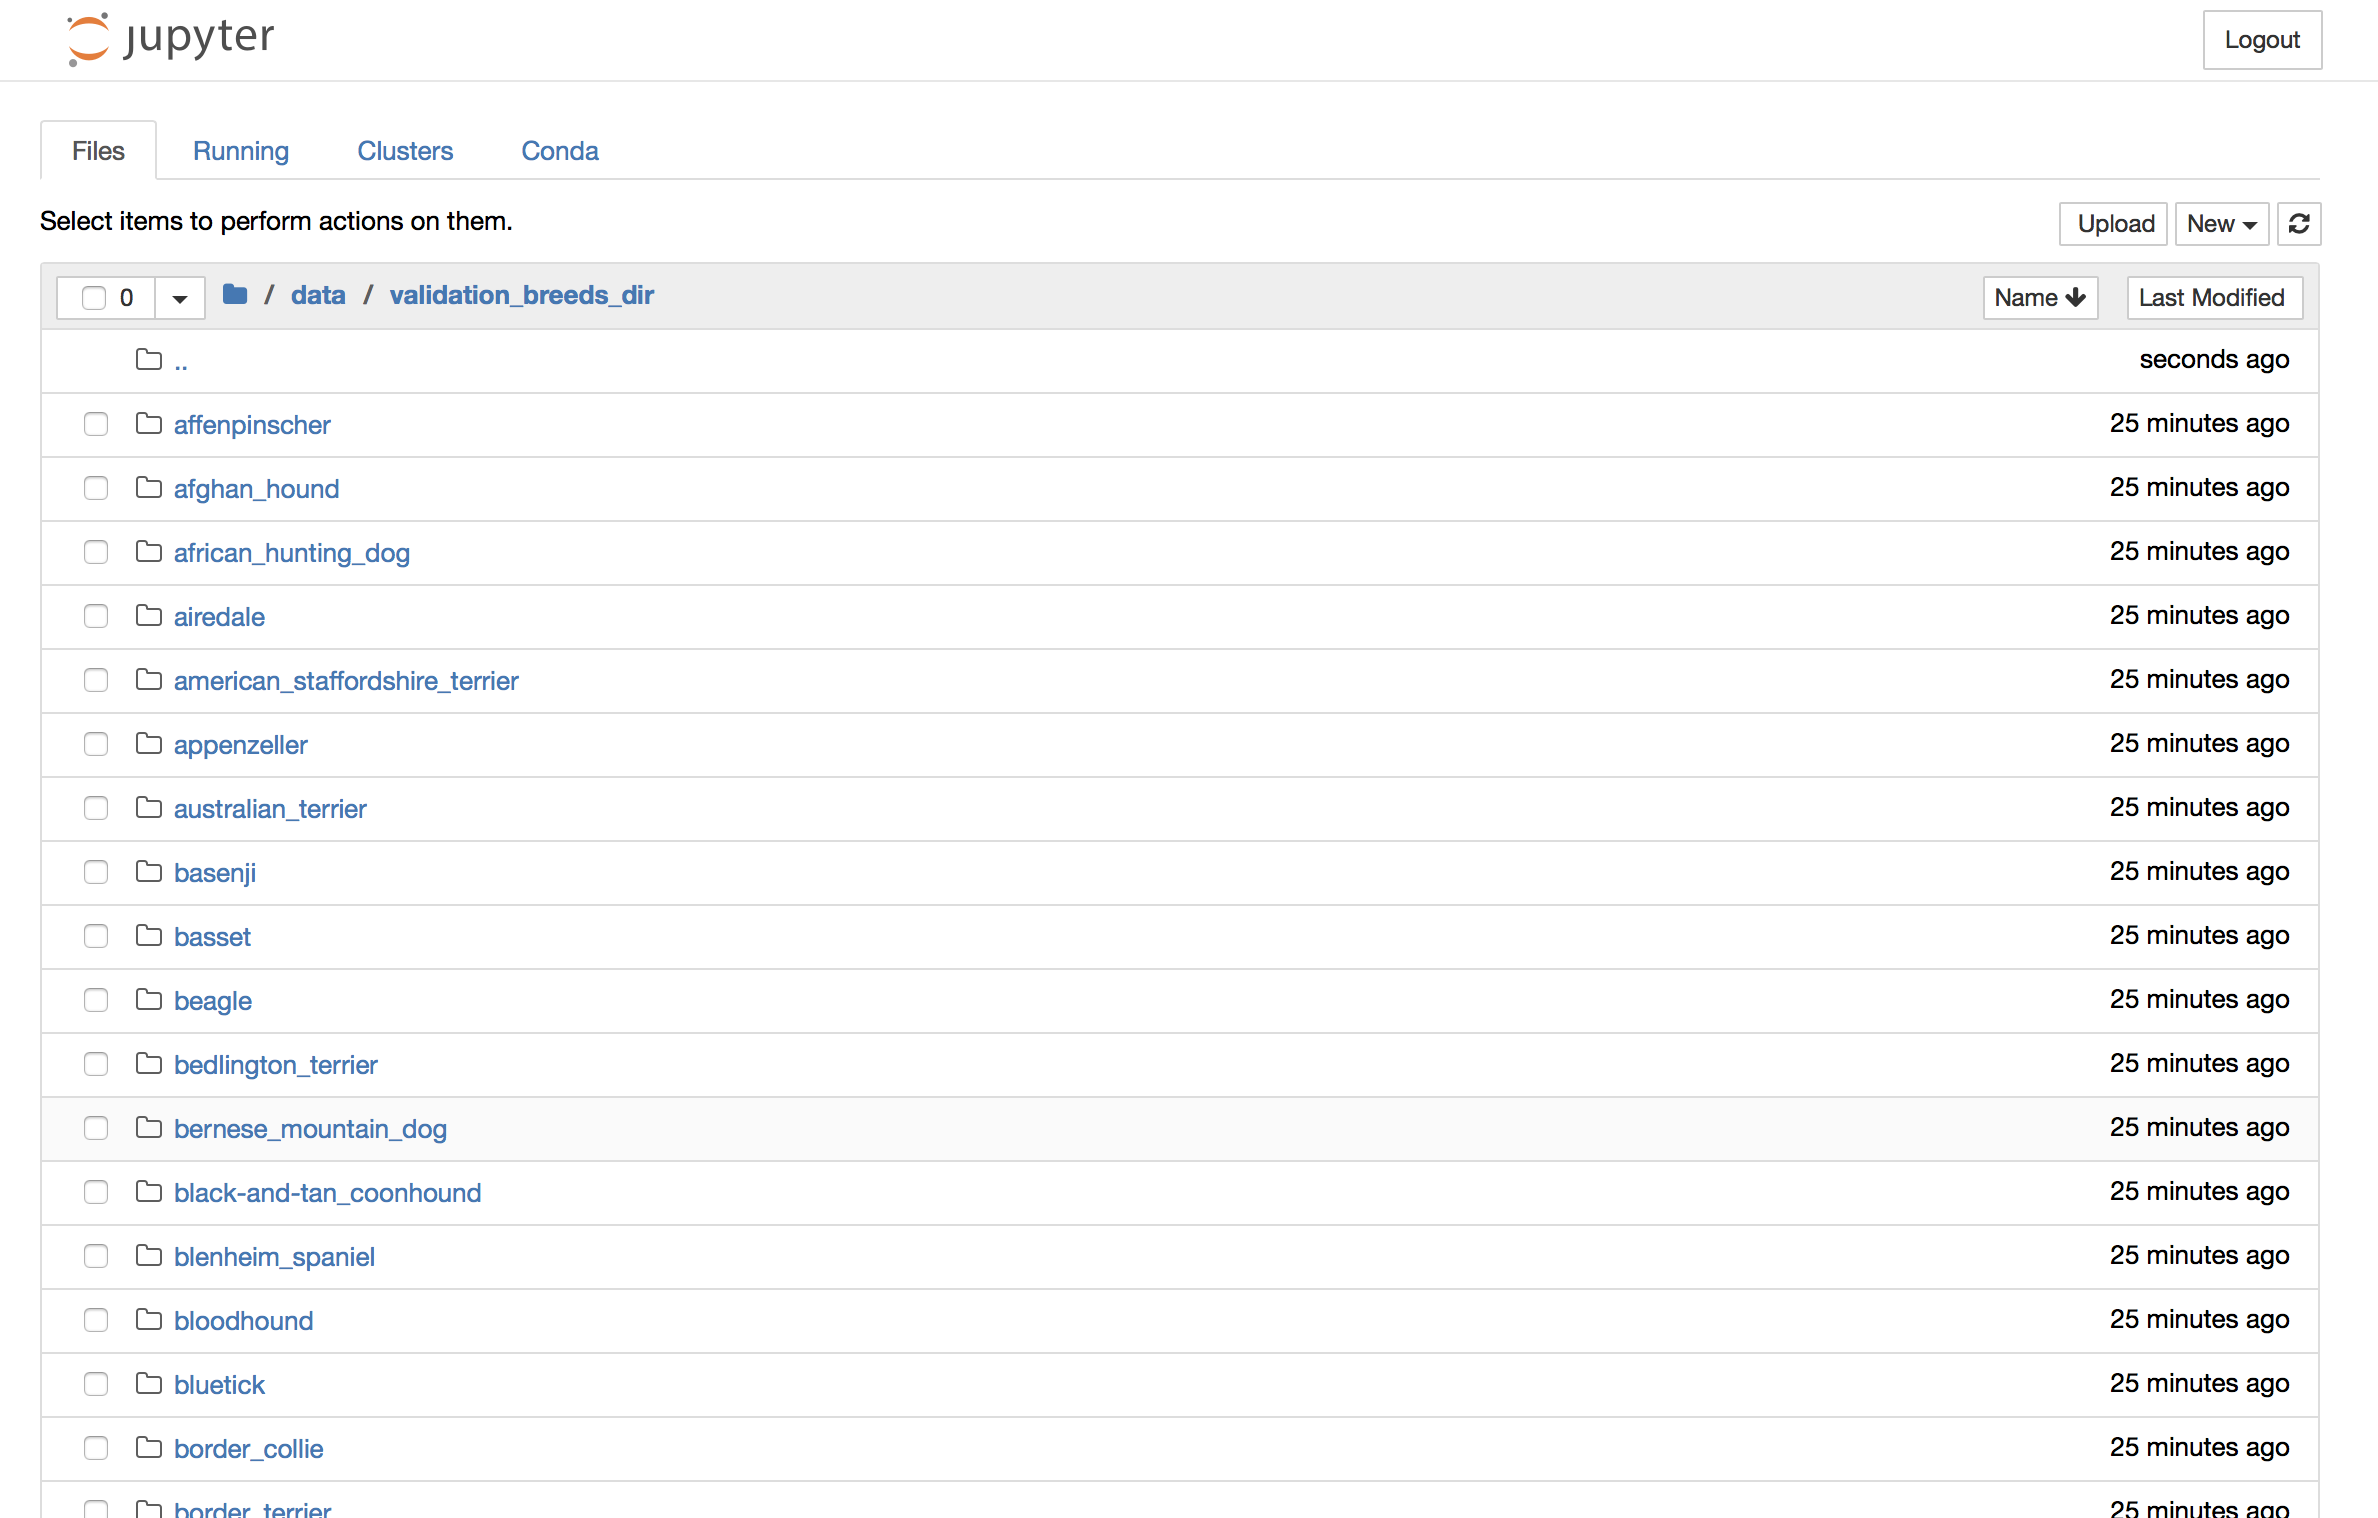
The way by which I got all the different breed files into their own subdirectories was very important, as using the keras data_generator.flow_from_directory() requires that your labels are in subdirectories.
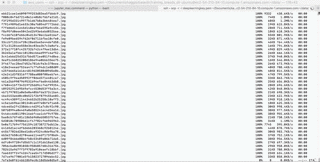
You'll see that once you ssh into your instance, you can ls to look around the file directories:

Earlier I created a directory mkdir data in the parent directory. That's the data directory you see above. What we want to do is scp data from our local machine into this data directory. This is just a small diagram I made to help you see it written out since there's a lot of text:

scp'ing a single file like a csv
$ scp -i deeplearningkey.pem /Users/catherineordun/Documents/kaggle/labels.csv ubuntu@ec2-54-210-84-10.compute-1.amazonaws.com:~/data/
You'll notice that after the '.com' there's :~/data/. Remember, that's the data folder we made. It's important to note that actually, this path 'ubuntu@ec2-54-210-84-10.compute-1.amazonaws.com' defaults to /home/ubuntu. So since you're already at the /home/ubuntu/ path, all you need to do is move to /data/

If I were to draw a tree directory structure it would look something like this:
bin
boot
dev
etc
home
-ubuntu
->anaconda3
->data
->Dog_Breeds_CNN.ipynb
->Nvidia_Cloud_EULA.pdf
->src
->ssl
->tutorials
scp'ing an entire directory like a folder of subdirectories
$ scp -r -i deeplearningkey.pem /Users/catherineordun/Documents/kaggle/training_dir ubuntu@ec2-54-210-84-10.compute-1.amazonaws.com:~/data/
What's the key difference here? It's the -r which must be