Hello, 1983
My boss asked me the other day if I could automate a Python notebook I wrote about analyzing the content of customer comments made about experiences with staff. I said sure.
Me: What do you mean automating ?
Boss: Like, making it easy so I can just "run" it.
Me: (Thinking to myself) Oh, ok. So, if it's not that fancy it would be ok?
Boss: Yeah, sure not that fancy, just everything needs to be automatic. Like I can use my own file and then it outputs the results and all the plots I need so I can put them into a PowerPoint.
And voila... there you go, requirements.
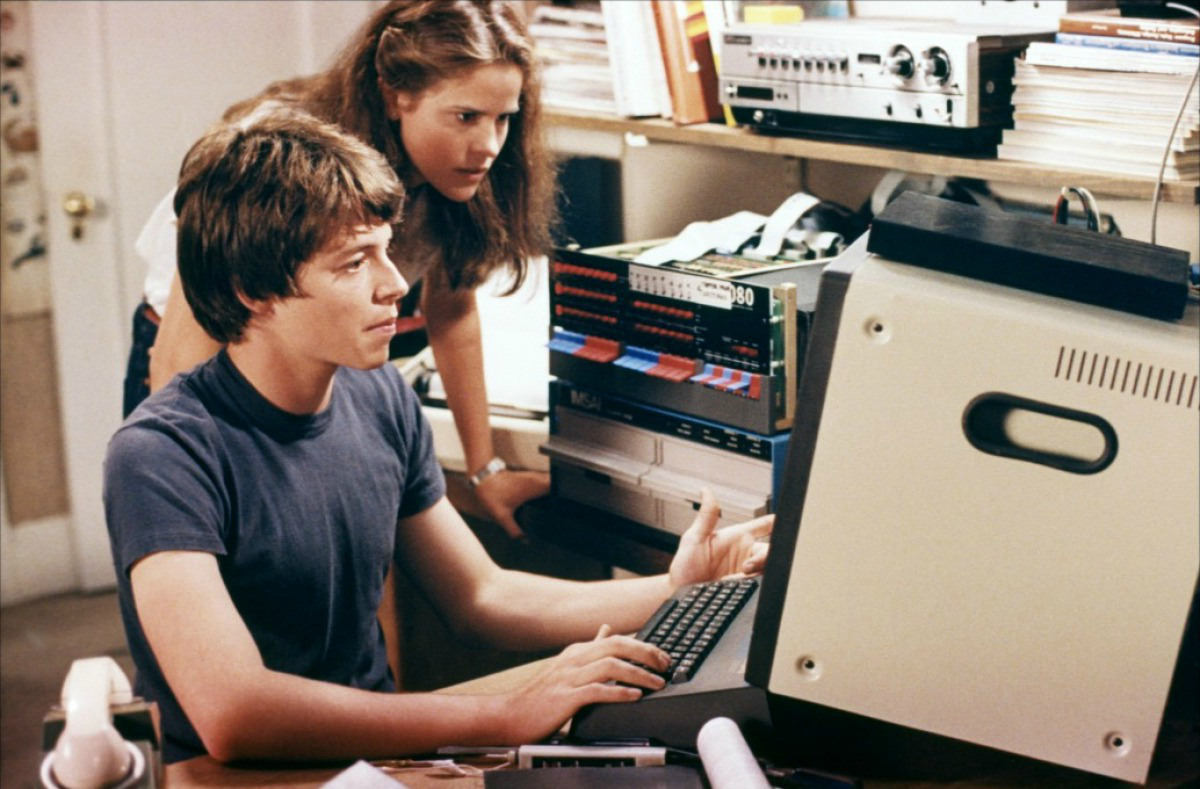
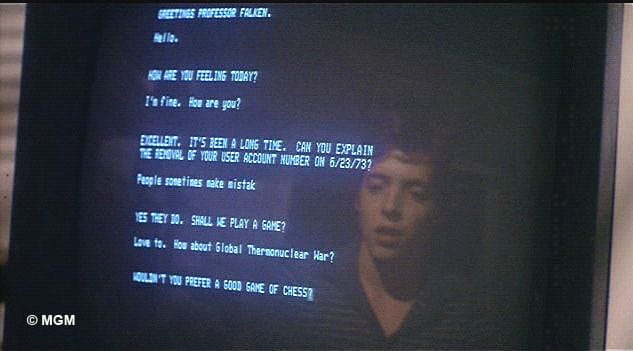
In the spirit of getting something done quickly, simply, and not fancily, I opted to simply create a very 1983-ish terminal runnable script. This was a fun project and I'm sharing here what I learned. Ala Matthew Broderick and War Games, here we go:
My glorious 1983-WarGames-esque program looks like this. Basically, it allows for my boss to enter a filename, after pointing him to the directory that he asked me to "install" the script in. By typing in: python lowcomments.py into his Command Prompt (it was all on Windows, here I show you on my Mac), all the output automatically shows up. I guess in some cases running an iPython notebook isn't what's needed. Regardless it was pretty fun and here's my code.
Because I can't use personally identifiable information (PII) on my blog, I reused the Amazon Reviews data from previous parts of my blog. Mainly, I used the user names, the helpfulness numerator and denominator scores, and the overall Score (star-rating).
The goals of this program are:
Part One
from __future__ import division
from __future__ import print_function
import pandas as pd
import numpy as np
import matplotlib.pyplot as plt
import pylab
import nltk
from nltk.tokenize import word_tokenize
from nltk.corpus import stopwords
import nltk.collocations
from nltk.collocations import BigramCollocationFinder
from nltk.metrics import BigramAssocMeasures
import textblob
from textblob import TextBlob
from nltk.tokenize import RegexpTokenizer
from bs4 import BeautifulSoup
from tabulate import tabulate
from colorama import Fore, Back, Style
from colorama import init
init()
basedir = "/Users/catherineordun/Documents/data/experiments/"
warnings.filterwarnings("ignore")
print(Fore.GREEN + """
<enter your ASCII art here>
""" + Style.RESET_ALL)
filename = raw_input(str('Enter a filename: '))
data = pd.read_csv("{}{}".format(basedir, filename))
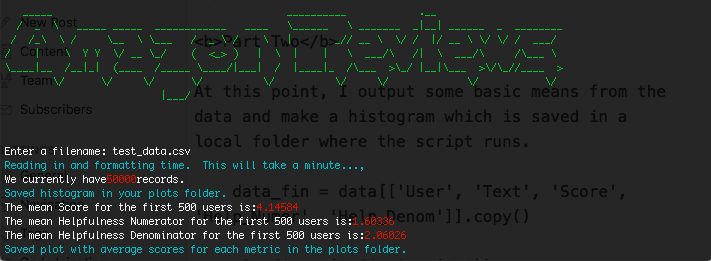
print(Fore.CYAN + "Reading in and formatting time. This will take a minute...," + Style.RESET_ALL)
print("We currently have" + Fore.RED + str(len(data)) + Style.RESET_ALL + "records.")
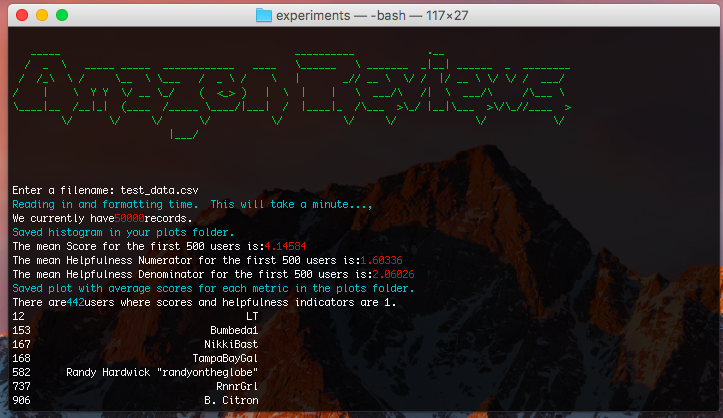
What this will generate is this output:
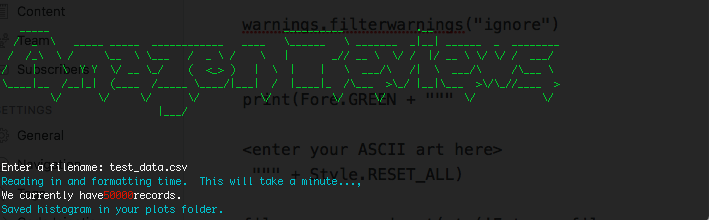
Now, you'll notice that in order to create that neat looking "Amazon Reviews" ASCII art, you need to enter it between the print """ and """ lines. How'd I make that? Well, simple. I know there are a few Python packages that do it, but I basically just went to http://patorjk.com. Try it out, very simple. For the sake of space on this blog, I didn't enter the ASCII art.
Another thing you may have noticed was the different colors in the Terminal output. That was pretty fun, and the way I did that was import a package called colorama, which is a Python package that initializes the use of ANSI on Windows 32. After much trial and tribulation, I realized that you have to import init from colorama and run init() in order for it to work.
To "turn on" the color, you need to indicate the color you want in the foreground first as 'Fore.CYAN' (turns the following text blue), and then "turn it off" by resetting the colors as 'Style.RESET_ALL'. This was kind of annoying, and I know there's a much better way to do this, but I brute-forced it in the whole script.
print(Fore.CYAN + "Reading in and formatting time. This will take a minute...," + Style.RESET_ALL)
Part Two
At this point, I output some basic means from the data and make a histogram which is saved in a local folder where the script runs.
data_fin = data[['User', 'Text', 'Score', 'Help_Numer', 'Help_Denom']].copy()

plt.figure(1,figsize=(8,8))
data_fin[['Score', 'Help_Numer', 'Help_Denom']].hist(bins=25)
plt.savefig("...histogram.pdf", bbox_inches='tight')
print(Fore.CYAN + "Saved histogram in your plots folder." + Style.RESET_ALL)

print("The mean Score for the first 500 users is:" + Fore.RED + str(data_fin['Score'].mean()) + Style.RESET_ALL)

print("The mean Helpfulness Numerator for the first 500 users is:" + Fore.RED + str(data_fin['Help_Numer'].mean()) +Style.RESET_ALL)

print("The mean Helpfulness Denominator for the first 500 users is:" + Fore.RED + str(data_fin['Help_Denom'].mean()) + Style.RESET_ALL)

plt.figure(1,figsize=(6,6))
x = data_fin[['Score', 'Help_Numer', 'Help_Denom']].mean()
x.plot(marker="o")
plt.savefig('...averages.pdf', bbox_inches='tight')
print(Fore.CYAN + "Saved plot with average scores for each metric in the plots folder."+ Style.RESET_ALL)
The output of Part Two is above, in the red numbers outputted to show the averages. Also, I made the messages cyan throughout the script. What's also important to note here about colorama is that every concatenated item has to be a string.
print("The mean Helpfulness Denominator for the first 500 users is:" + Fore.RED + str(data_fin['Help_Denom'].mean()) + Style.RESET_ALL)
So, for example here, you'll see that I set the mean of the Helpfulness Denominator as a str() in order to colorama to read this in correctly then like above, I reseted it back so that all other text following wouldn't be red.
Part Three
For anyone who's looked at my previous posts, the following code won't be new.
#Mark users who have a 1 in each of the scores, for my boss this was actually low customer service ratings
data_fin['low'] = np.where(((data_fin['Score'] == 1) & (data_fin['Help_Numer'] ==1) & (data_fin['Help_Denom'] ==1)), 1, 0)
#Now, create a separate df called low_names
low_names = data_fin.loc[(data_fin['low'] == 1)]
#output a message on terminal that tells you how many users have 1's across the board
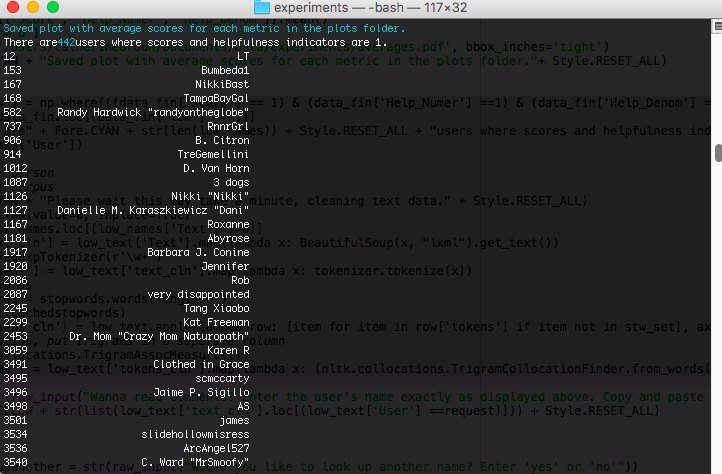
print("There are" + Fore.CYAN + str(len(low_names)) + Style.RESET_ALL + "users where scores and helpfulness indicators are 1.")
print(low_names['User'])
#Trigrams per person
print(Fore.CYAN + "Please wait this may take a minute, cleaning text data." + Style.RESET_ALL)
low_names.fillna(value=0, inplace=True)
#we want to get the text where there are actually comments available
low_text = low_names.loc[(low_names['Text'] !=0)]
#Thank you, beautiful soup!
low_text['text_cln'] = low_text['Text'].map(lambda x: BeautifulSoup(x, "lxml").get_text())
tokenizer = RegexpTokenizer(r'\w+')
#Tokenize
low_text['tokens'] = low_text['text_cln'].map(lambda x: tokenizer.tokenize(x))
#remove stopwords
cachedstopwords = stopwords.words('english')
stw_set = set(cachedstopwords)
#lambda function to iterate and remove stopwords for each text column for each row
low_text['tokens_cln'] = low_text.apply(lambda row: [item for item in row['tokens'] if item not in stw_set], axis=1)
#for each station, put trigrams in a separate column
tgm = nltk.collocations.TrigramAssocMeasures()
#apply lambda function to apply trigrams PMI for each user
low_text['tgms'] = low_text['tokens_cln'].map(lambda x: (nltk.collocations.TrigramCollocationFinder.from_words(x)).score_ngrams(tgm.pmi))
The output on Terminal looks like this.
Part Four
My boss also wanted to be able to look up comments from each user. I wrote this very basic while loop to do that.
#Allow boss to enter name of any of the users above
request = str(raw_input("Wanna read comments? Enter the user's name exactly as displayed above. Copy and paste it in here."))
#Output the comments in yellow
print(Fore.YELLOW + str(list(low_text['text_cln'].loc[(low_text['User'] ==request)])) + Style.RESET_ALL)
#Let him look up any user and enter 'yes' if he wants to look up more, or 'no' to stop
while True:
try:
lookupanother = str(raw_input("Would you like to look up another name? Enter 'yes' or 'no'"))
except ValueError:
print("Sorry, I didn't understand that.")
continue
if lookupanother == 'yes':
request = str(raw_input("To show you the comments made by a dissatisfied user, enter the person's name exactly as displayed above."))
print(Fore.YELLOW + str(list(low_text['text_cln'].loc[(low_text['User'] ==request)])) + Style.RESET_ALL)
continue
elif lookupanother == 'no':
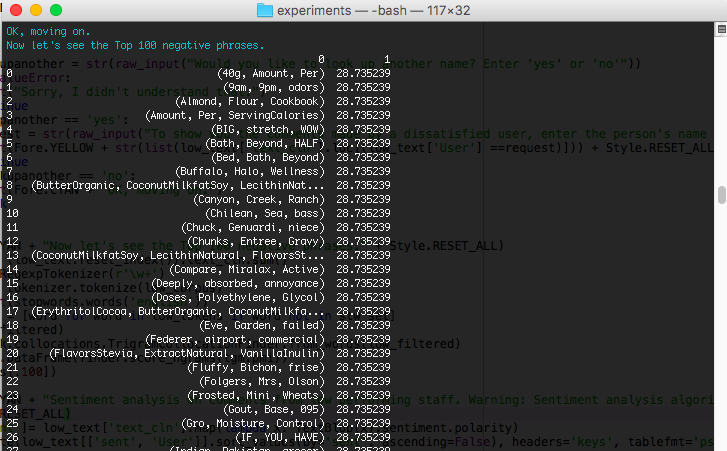
print(Fore.CYAN + "OK, moving on.")
break
I realize there are many more elegant ways to do this, and I'm totally open to improving this loop.

Part Five
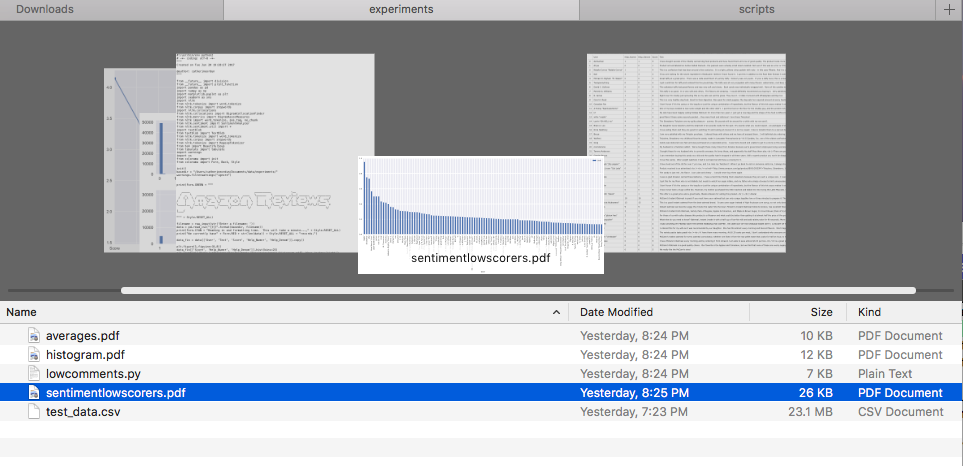
To finish out, he wanted to output the results of the trigrams (3-word-phrases) to see the most highly ranked phrases across the entire corpus of negative users. Just the top 100 were of interest to him.
print(Fore.CYAN + "Now let's see the Top 100 negative phrases." + Style.RESET_ALL)
#sum up all the low_text into one single corpus
low_corpus = (low_text.reset_index()).text_cln.sum()
tokenizer = RegexpTokenizer(r'\w+')
low_tokens = tokenizer.tokenize(low_corpus)
stw_set = set(stopwords.words('english'))
low_filtered = [word for word in low_tokens if word not in stw_set]
V = set(low_filtered)
finder = nltk.collocations.TrigramCollocationFinder.from_words(low_filtered)
phrases = pd.DataFrame(finder.score_ngrams(tgm.pmi))
print(phrases[:100])
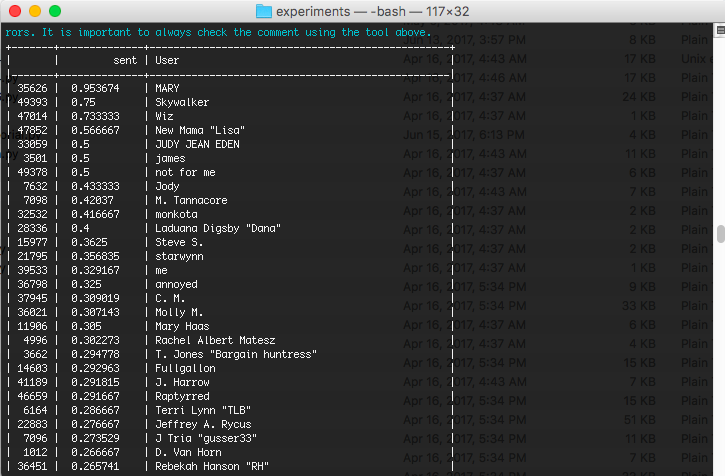
Conduct some sentiment analysis on the comments using textblob.
print(Fore.CYAN + "Sentiment analysis on comments from low performing staff. Warning: Sentiment analysis algorithm can sometimes have errors. It is important to always check the comment using the tool above."+
  Style.RESET_ALL)

low_text['sent']= low_text['text_cln'].map(lambda x: TextBlob(x).sentiment.polarity)

print(tabulate(low_text[['sent', 'User']].sort_values(by='sent', ascending=False), headers='keys', tablefmt='psql'))

font = {'family' : 'normal',
    'weight' : 'normal',
    'size'   : 5}
plt.rc('font', **font)
plt.rcParams.update({'font.size': 5})

#plot the first 100 users
(low_text[['sent', 'User']].sort_values(by='sent', ascending=False))[:100].plot(x='User', kind='bar',figsize=(25,8))
plt.savefig(".../sentimentlowscorers.pdf", bbox_inches='tight')
print(Fore.CYAN + "I have saved all your plots in this folder.")
As a final step, being able to get all the plots in his My Documents folder was helpful because he wanted to embed them into his PowerPoint report every month.
Conclusion
I think the lesson I learned in this exercise was that business users may not need or want any fancy GUIs and programs. At first, I had planned to hack my way through PtQt4 and then had some serious issues installing the wheel on my client computer. So, based on that I had to take a step back and think, should I really use my time doing something fancy, when all he really wants is an easy to run this program?
At the end of a day, it was easy to make this program run through his Windows Command Prompt. I'm by no means a software developer, so far from it. I'm always learning and hoping to improve my skills to automate scripts for my clients. Full script available here: href=https://github.com/nudro/classifiers/blob/master/lowcomments.py
